

Dust, dirt, and allergens have a sneaky way of building up on floors over time. Not only can this lead to unhealthy indoor air quality, but it can also wear down the surface of your flooring. Whether it’s hardwood, tile, laminate, or carpet, without a proper maintenance, this buildup will cause costly damage down the line.
At Ziva Cleaning Services, we believe maintaining a clean and healthy home or workspace should be simple. That’s why we’ve created this easy-to-follow guide to help you deep clean your floors and keep them looking their best for years to come.
Floor Deep Clean Guide
Step 1: Assemble Your Cleaning Supplies
Before getting started, make sure you have the right tools on hand. The supplies you’ll need will depend on the type of flooring you’re cleaning, but here’s a helpful list to get you started:
Broom and dustpan, or a vacuum cleaner.
Mop and a bucket.
Microfiber cloths.
Sponge or soft scrub brush.
Protective gloves.
Specialized floor cleaner (hardwood cleaner, tile solution, or carpet shampoo, depending on the floor type).
Step 2: Remove Loose Dirt and Debris
Start by sweeping or vacuuming the entire area to get rid of any loose belongings or debris on the floor. On hard surfaces like wood or tile, use a broom or a vacuum with a hard floor setting. For carpets, a vacuum cleaner with powerful suction and attachments will help you get into corners and along baseboards.
At Ziva Cleaning, we always stress the importance of this step.
Step 3: Spot Clean Stains
Next, take a moment to tackle any stubborn spots:
Hardwood Floors: Gently blot stains using a microfiber cloth and a cleaner formulated for wood.
Tile Floors: Mix a small amount of baking soda with water to form a paste. Apply it to grout lines and scrub with a toothbrush.
Carpet: Use a carpet stain remover and a soft brush to work on individual stains. Blot—don’t rub! That is to avoid spreading the stain.
By addressing these problem areas first, you give your cleaning solutions time to work while you prepare for the next step.
Step 4: Prepare the Cleaning Solution
Fill your bucket with warm water and add the appropriate cleaner. Always follow the manufacturer’s guidelines to avoid damage:
Hardwood Floors: Use a wood floor cleaner that’s safe for the finish. Avoid excess moisture.
Tile Floors: Opt for a pH-neutral cleaner to protect grout and prevent dullness.
Laminate Floors: Less is more—excess water can seep into seams and cause warping.
Step 5: Mop the Floors
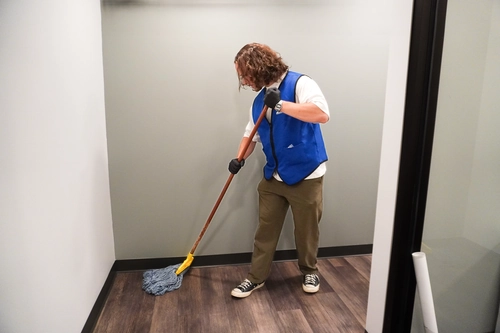
Start mopping at the farthest corner of the room and work your way toward the exit. Be sure to:
Wring out the mop thoroughly to prevent soaking the floor.
Refresh your water and solution when it becomes dirty.
Mop in sections, overlapping slightly to cover the entire surface.
At Ziva Cleaning, our team follows this same approach for a streak-free shine every time.
Step 6: Rinse
After mopping, it’s often helpful to rinse the floor with clean water, especially on tile or laminate surfaces. This step removes any leftover cleaning solution and helps prevent buildup or residue.
Step 7: Dry Thoroughly
Never let floors air dry completely on their own, this can lead to water spots or, worse, damage to sensitive surfaces like hardwood and laminate. Use a dry microfiber cloth to wipe down the area or open windows and doors to promote airflow and speed up the drying process.
Let Ziva Cleaning Handle the Hard Work
Deep cleaning floors can be time-consuming and labor-intensive. If you’d rather leave it to the pros, Ziva Cleaning is here to help. Our professional cleaning team uses eco-friendly products, advanced equipment, and proven techniques to deliver spotless results, whether at home or in the workplace.
Contact us today to schedule your cleaning service quote and experience the Ziva difference!


